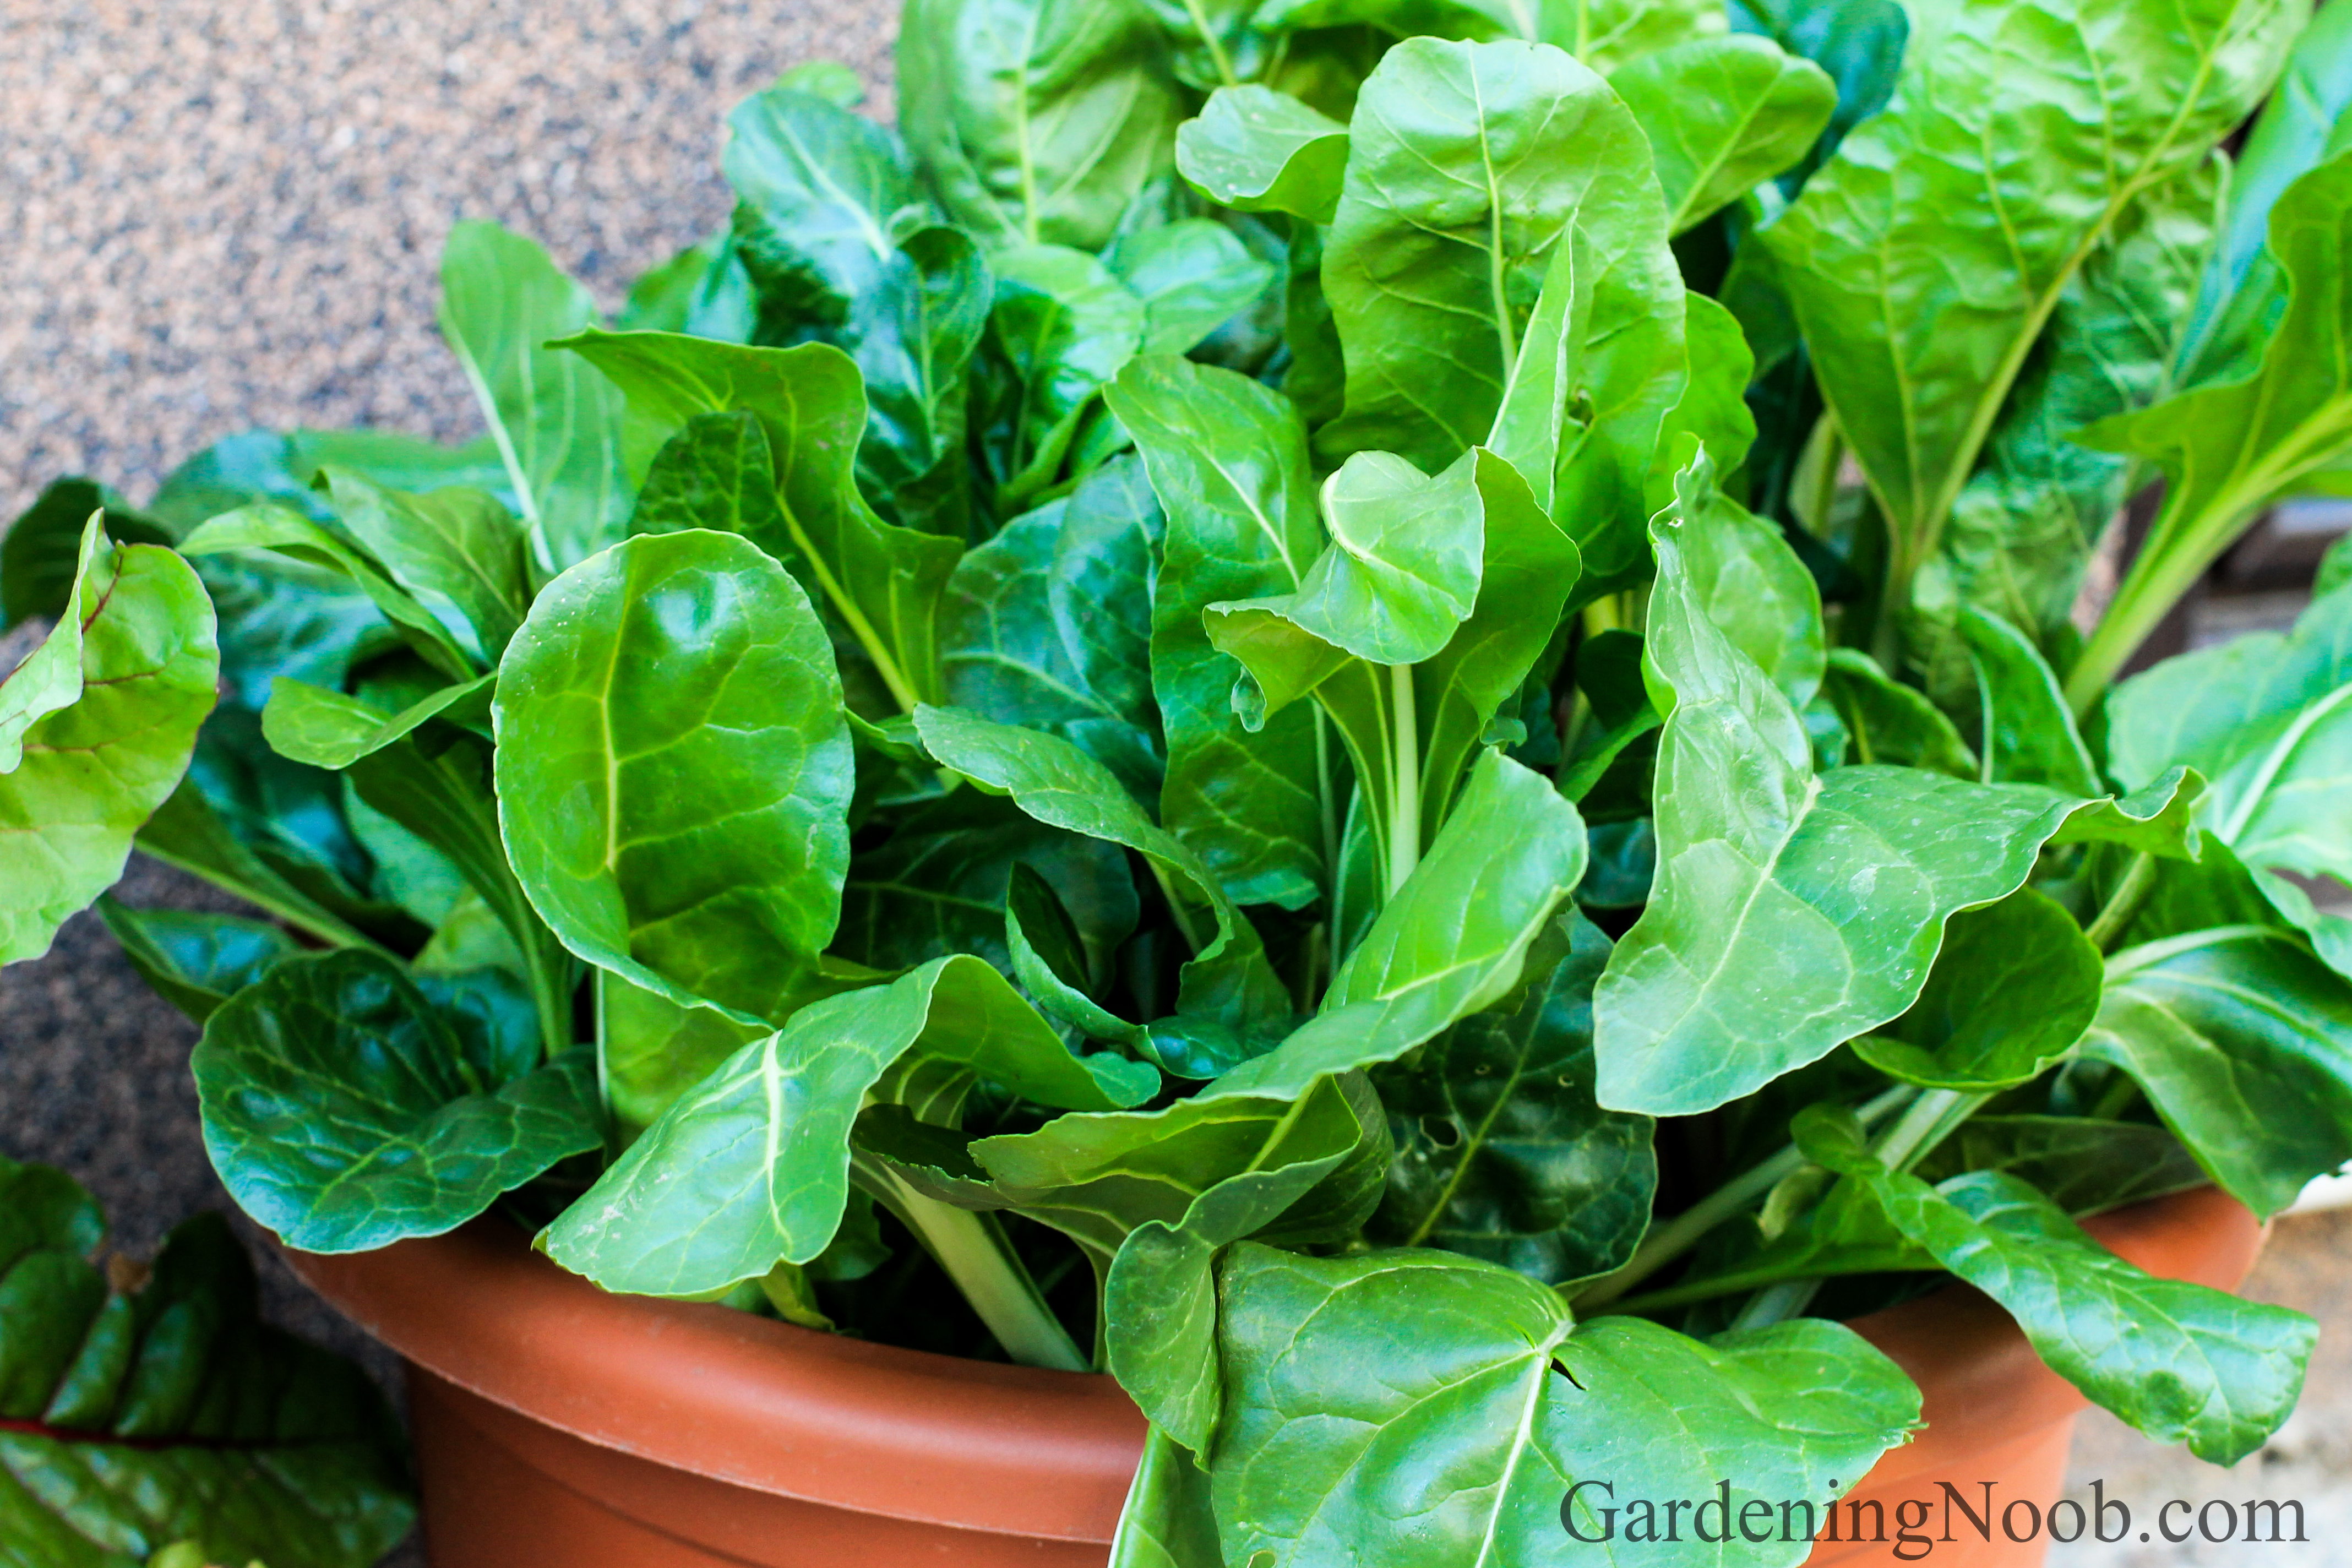
I always prefer growing chard directly in the garden. The plant grows much bigger than in the pot because it has more space and nutrients available. But sometimes, you just don’t have enough gardening space available. Container gardening is thus the only choice you have…
You’ll be happy to know that you can successfully grow chard in pots or containers. While it may not grow as big and leafy as in-ground, you may still get a plentiful supply of delicious leaves from it!
Here’s a step by step guide on how to do it:
Choose a wide and deep container
Chard develops one massive (tap) root, which can go pretty deep. That’s why you need to plant it in a very big pot. I’d say that 12 inches (30 centimeters) wide and deep container would be the minimum. Otherwise, you don’t give the plant enough room to produce sufficient harvest for you.
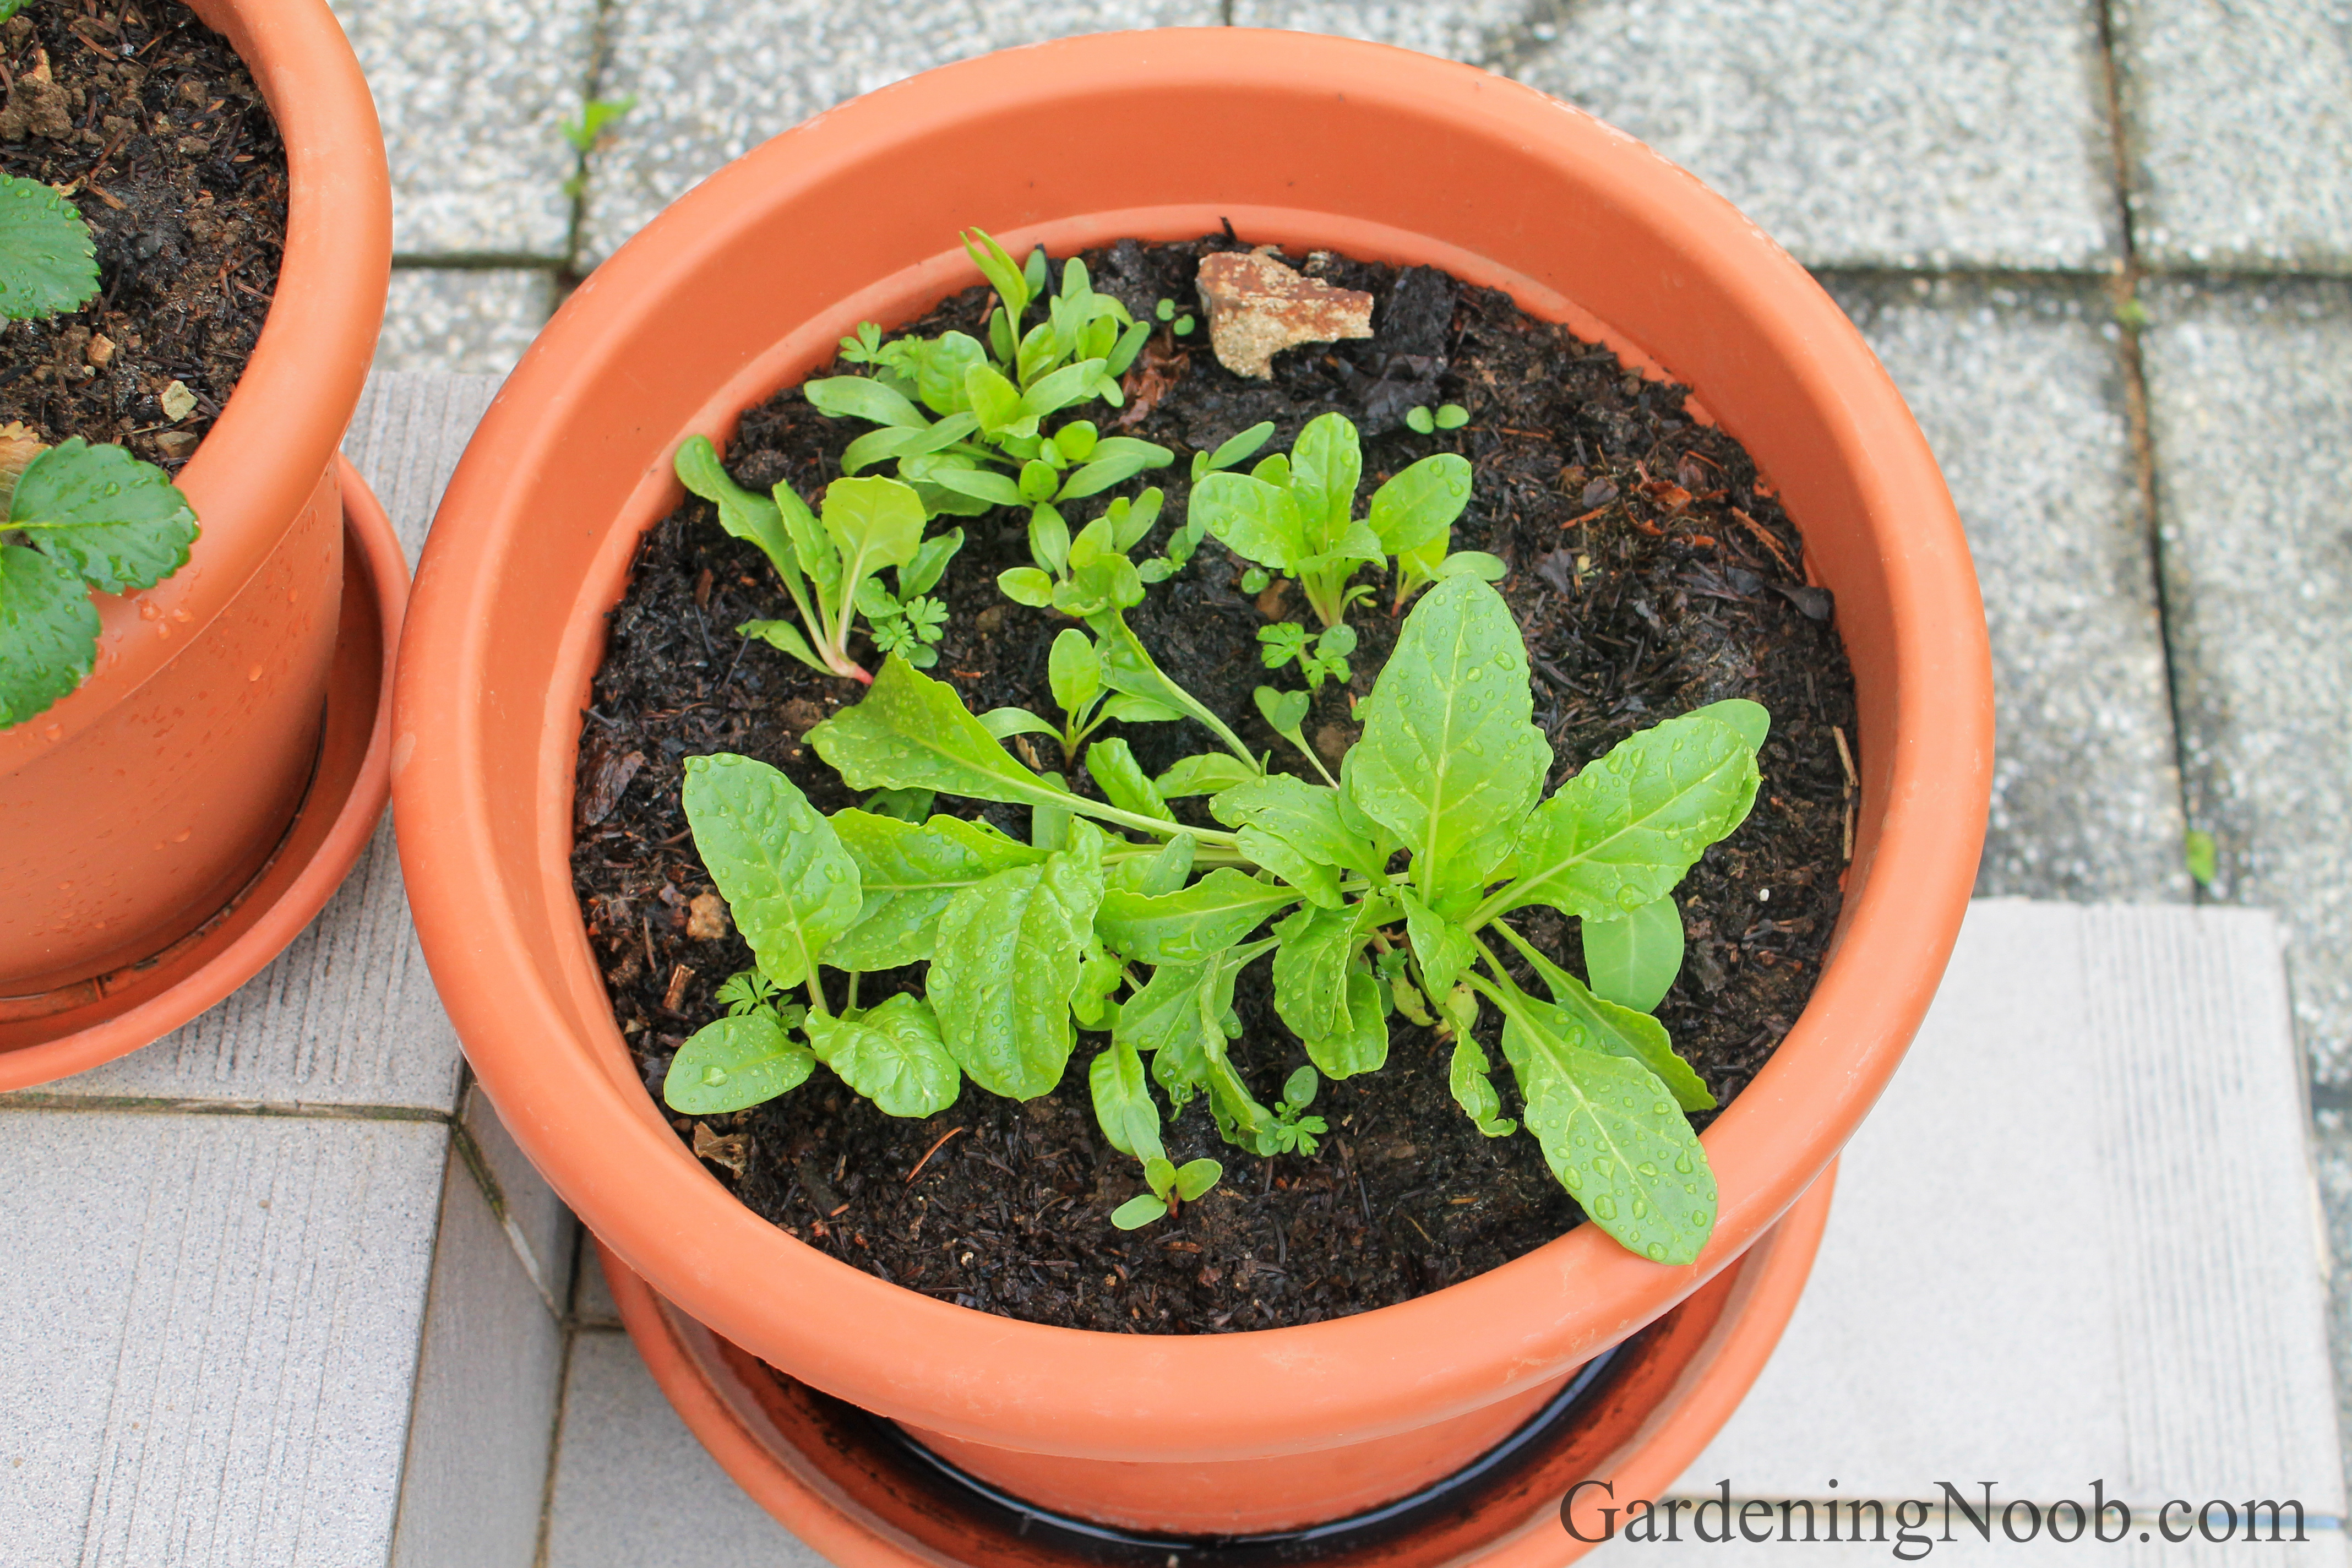
Fill the container with nutrient-rich soil
As I already mentioned, this plant needs lots of nutrients (nitrogen in particular) to grow quickly. I’d use the richest compost you can get your hands on.
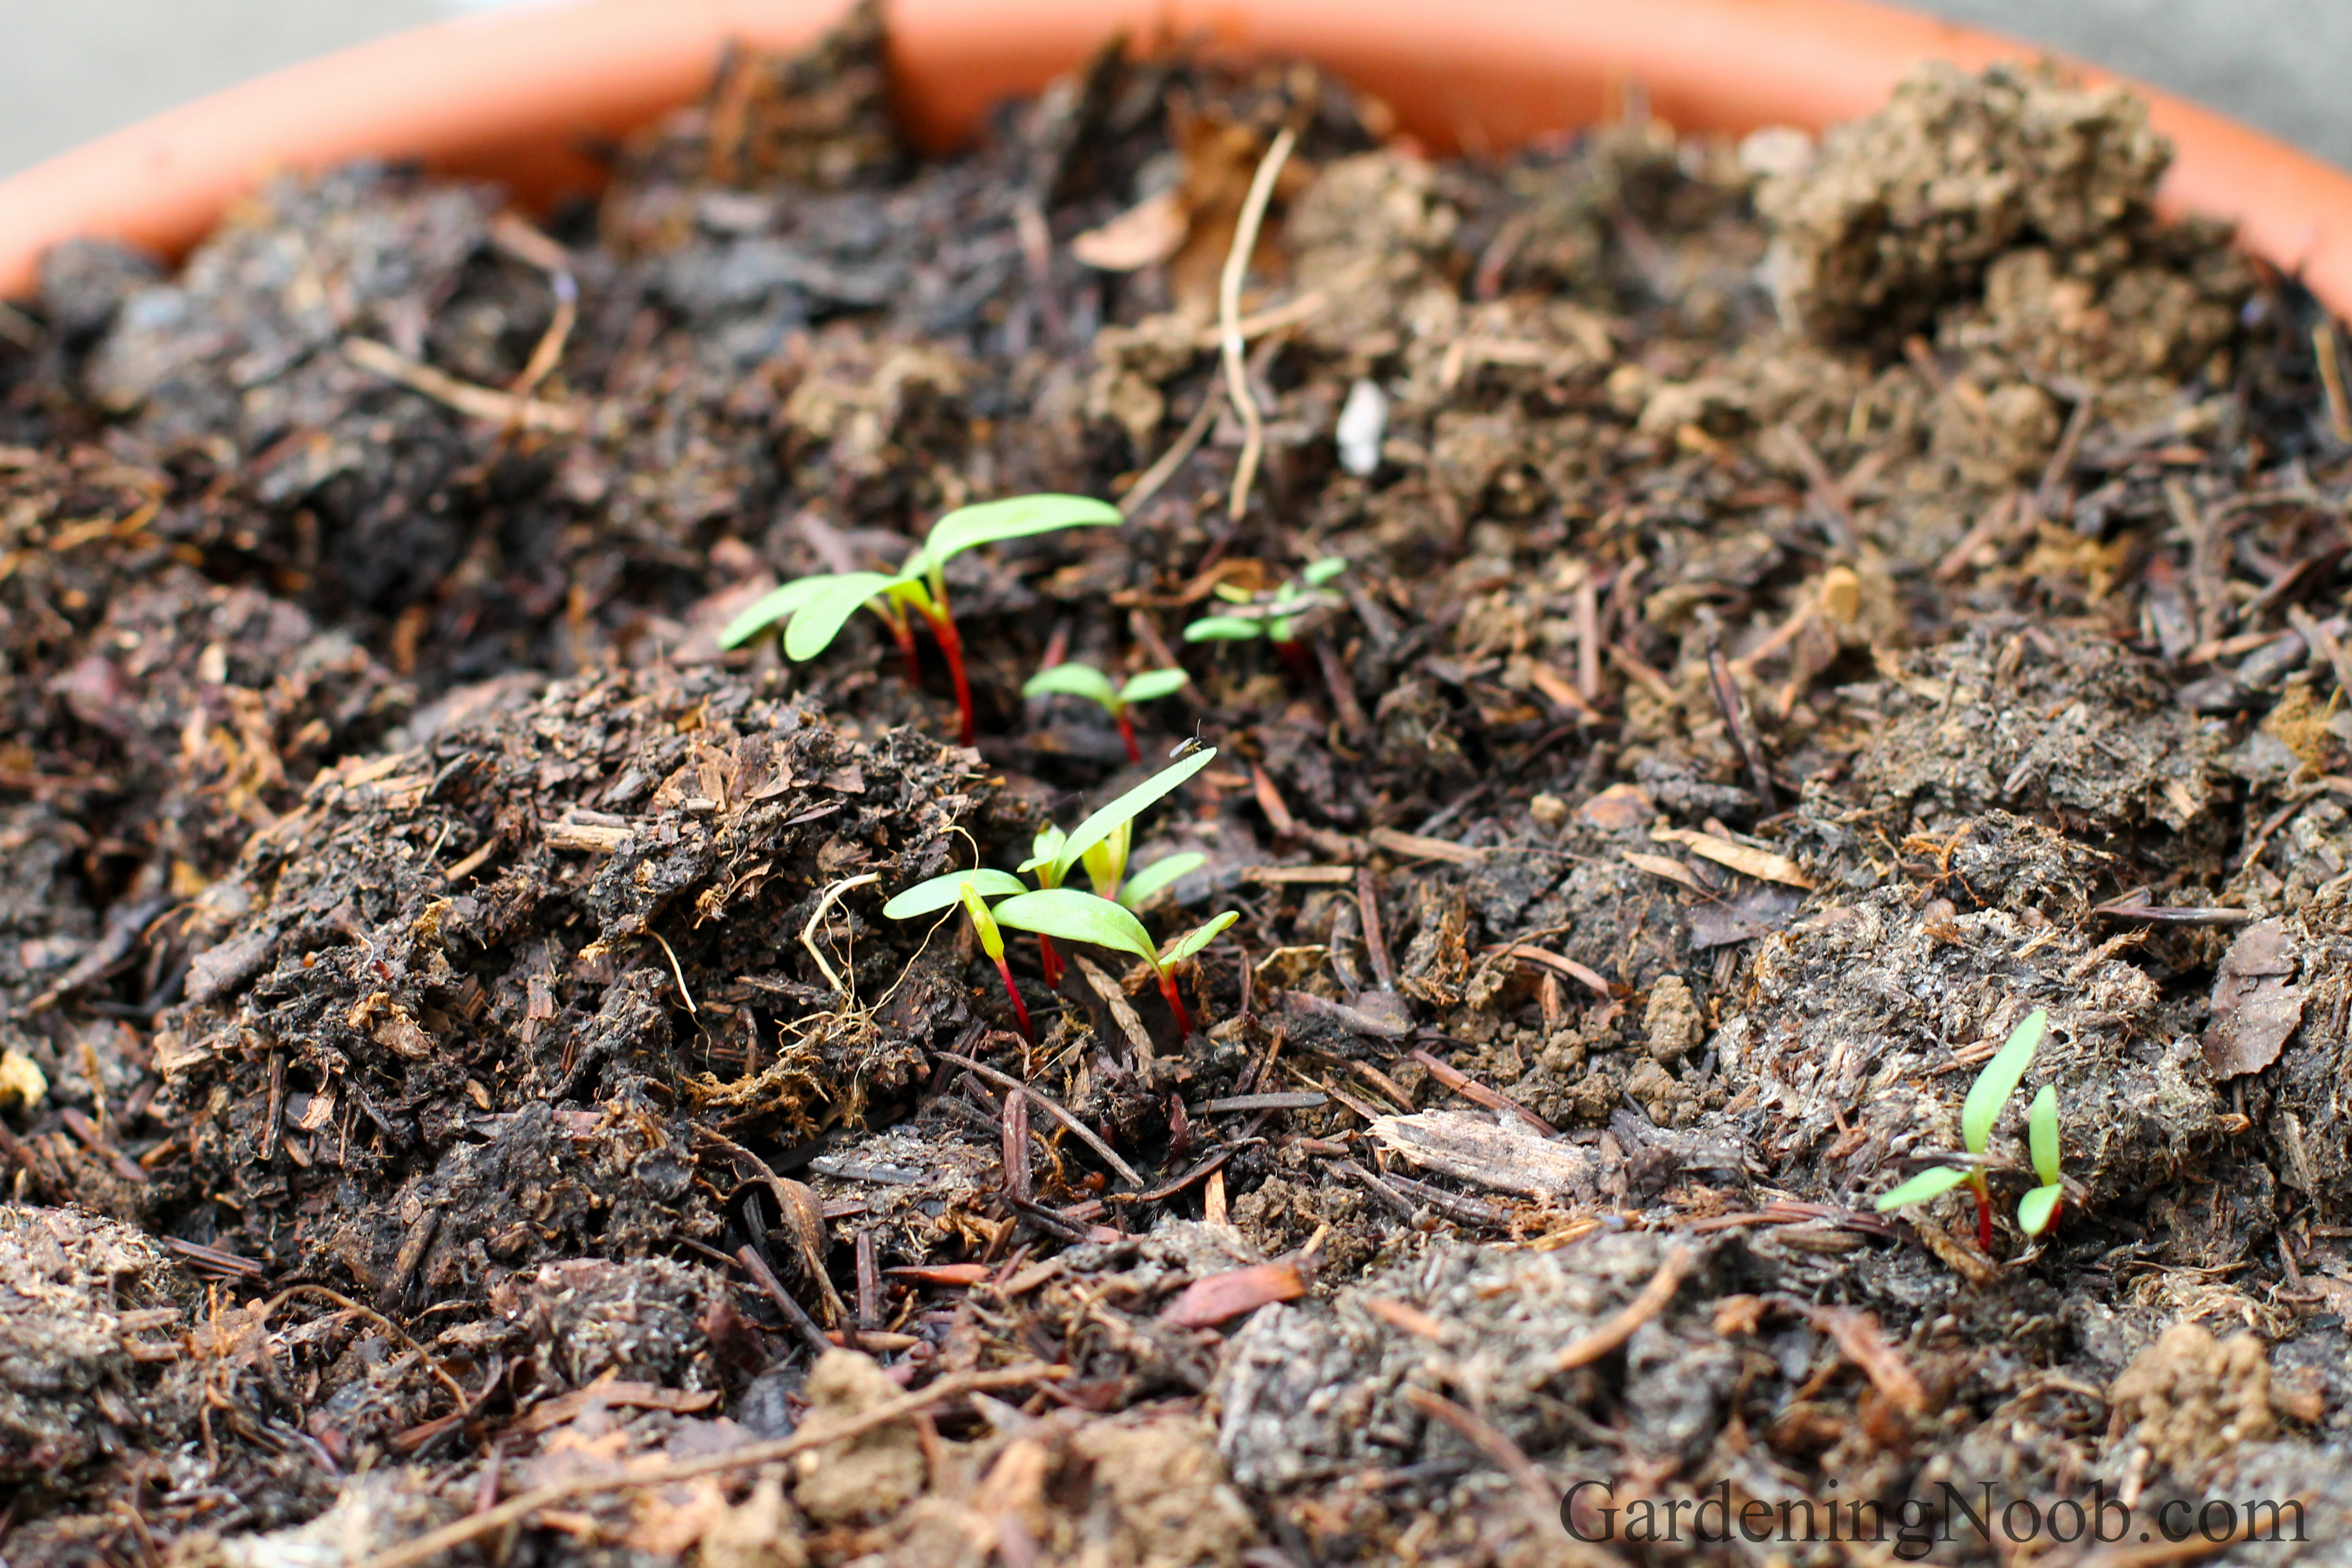
Plant the seeds and water well
You may want to presoak the seeds in cool water before planting. It helps speed up the germination process. Then plant three or four seeds (seedballs) into the container one inch (two centimeters) deep. Then water everything.
Place it in a sunny location
The vegetable needs enough sunlight to produce leaves. In cool parts of the year (usually spring and autumn), you can leave the container on the sun throughout the whole day. However, during summer when the temperatures are much higher, it’s better to avoid the afternoon sun as the heat can stress out the plant and stunt it’s growth or even kill it.
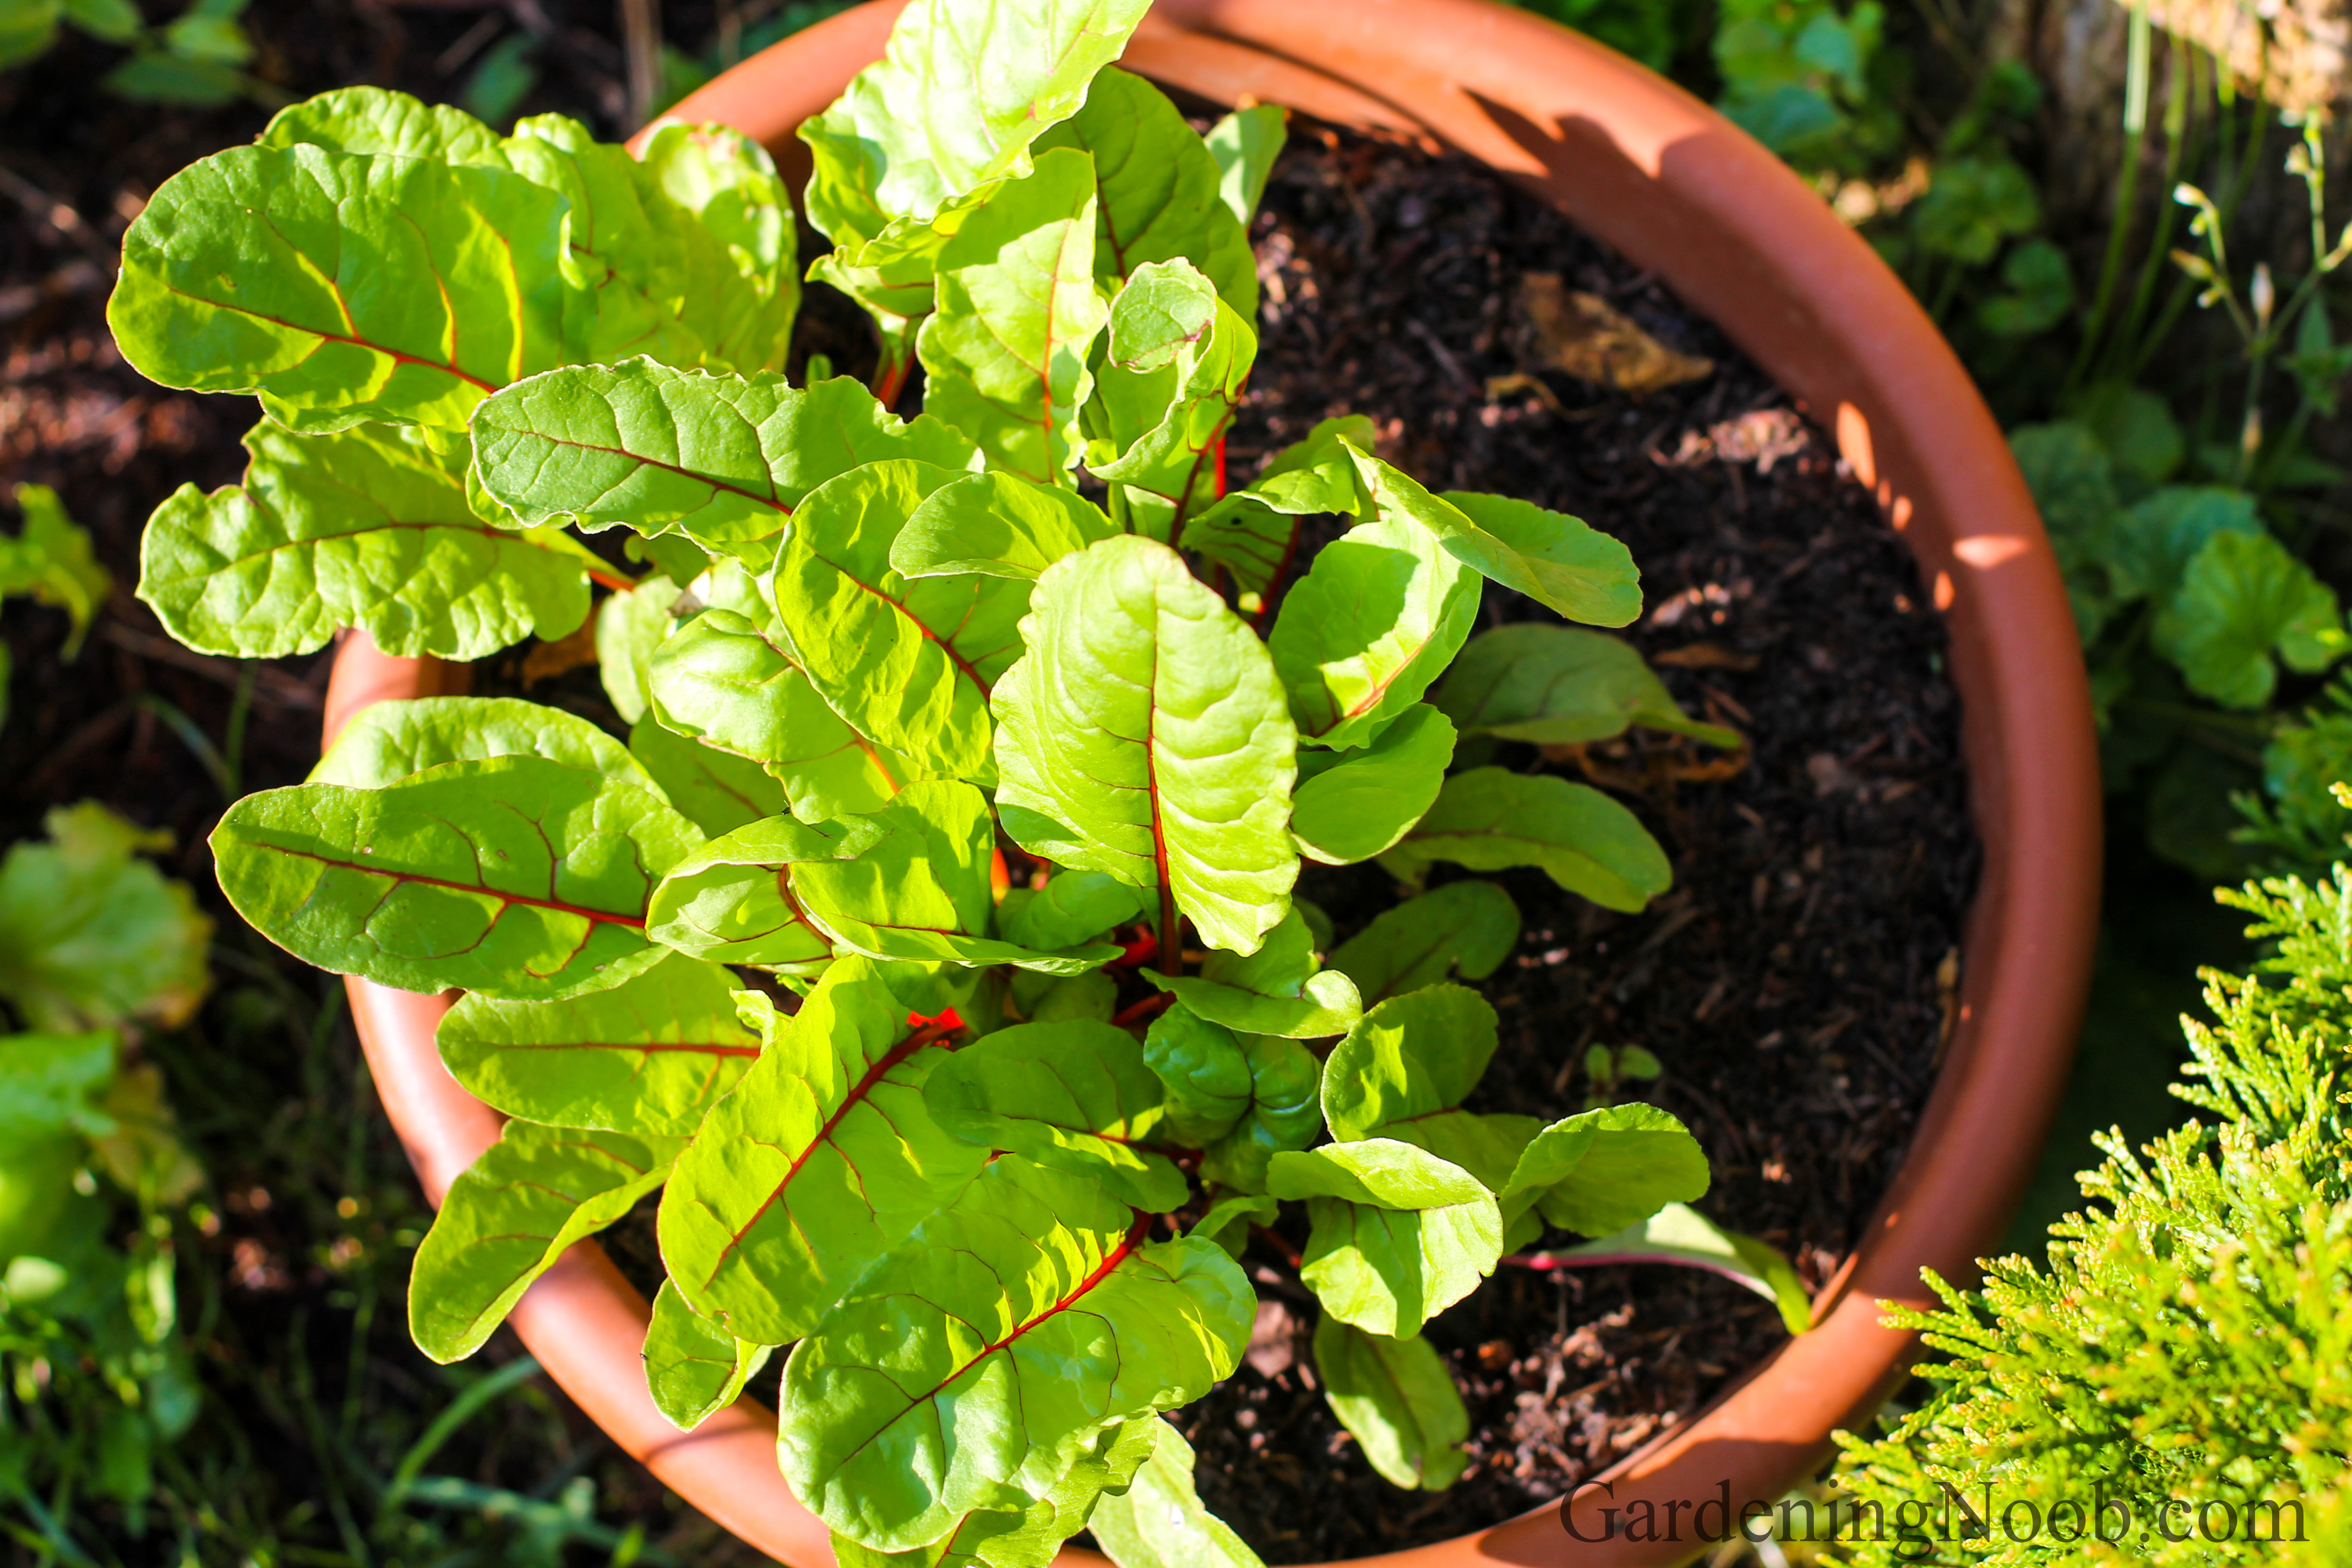
Water it often, but not too often
You need to provide enough water to chard regularly. Otherwise it won’t produce. However, every time you water it, you flush nutrients out of the soil. That’s a problem, considering the fact soil nutrients in the container are much more scarce. Therefore, never overwater. And always mulch after watering to keep the soil moist as long as possible.
Thin it
You’ll likely get several sprouts out of three or four seeds you planted. The seeds are actually seedballs, remember? Unfortunately, there’s not enough space nor food in the container for more than five mature plants, even if your container is bigger and deeper than 12 inches (30 centimeters). Leave the strongest ones and thin the rest with scissors to avoid disturbing the roots.
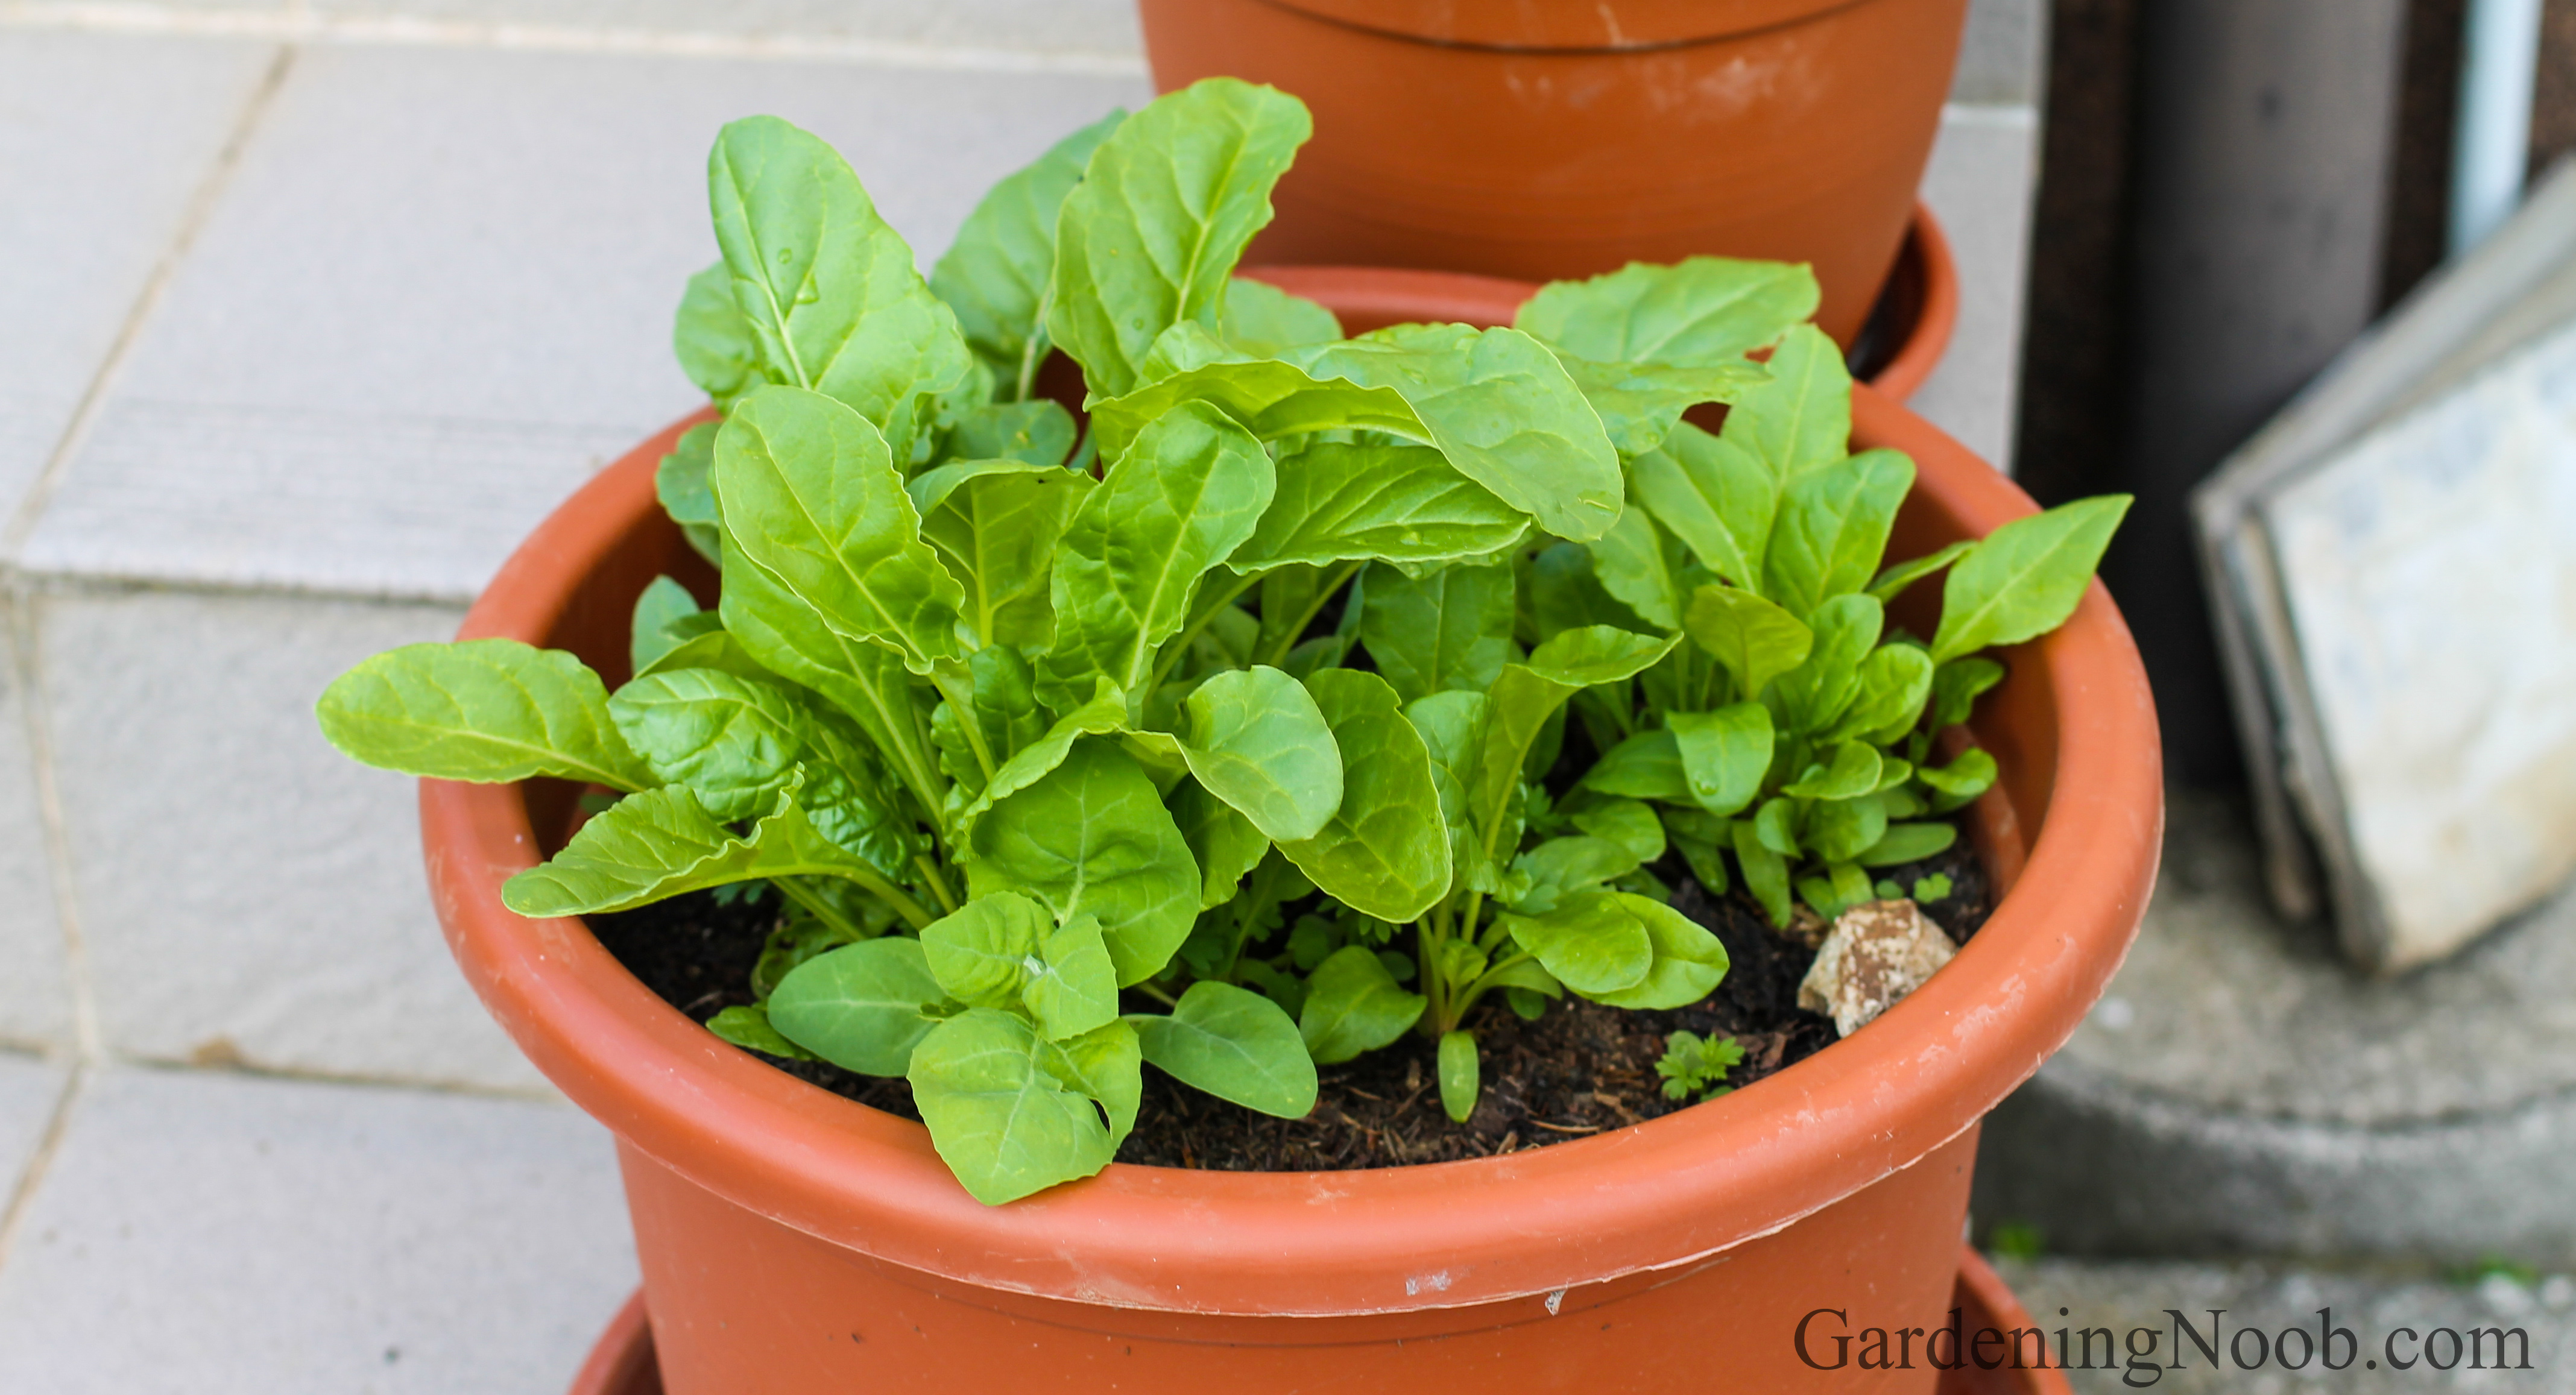
Feed it with liquid organic fertilizer
You already know that the plant food in containers is scarce. Once the plants run out of food, they grow much slower. This usually happens before they are big enough for harvest. So, to help your chard maintain fast growth and reach the harvest stage, you need to feed it with additional plant food. I suggest a liquid organic fertilizer. You can make it yourself or buy it in the store.
The good time to start growing chard in this way would be early in the spring. It’s basically the same as in case you’re growing it outside in the garden, so I suggest you check out this article for more information…
With that said, you can get a head start in growing if you have an indoor place with south-facing windows and a constant room temperature between 50 and 70 degree fahrenheit (10 and 20 degrees celsius). Start the seeds indoors towards the end of winter and move the containers outside in early spring as soon as the weather conditions allow you (above freezing temperatures and no danger of hard freeze).
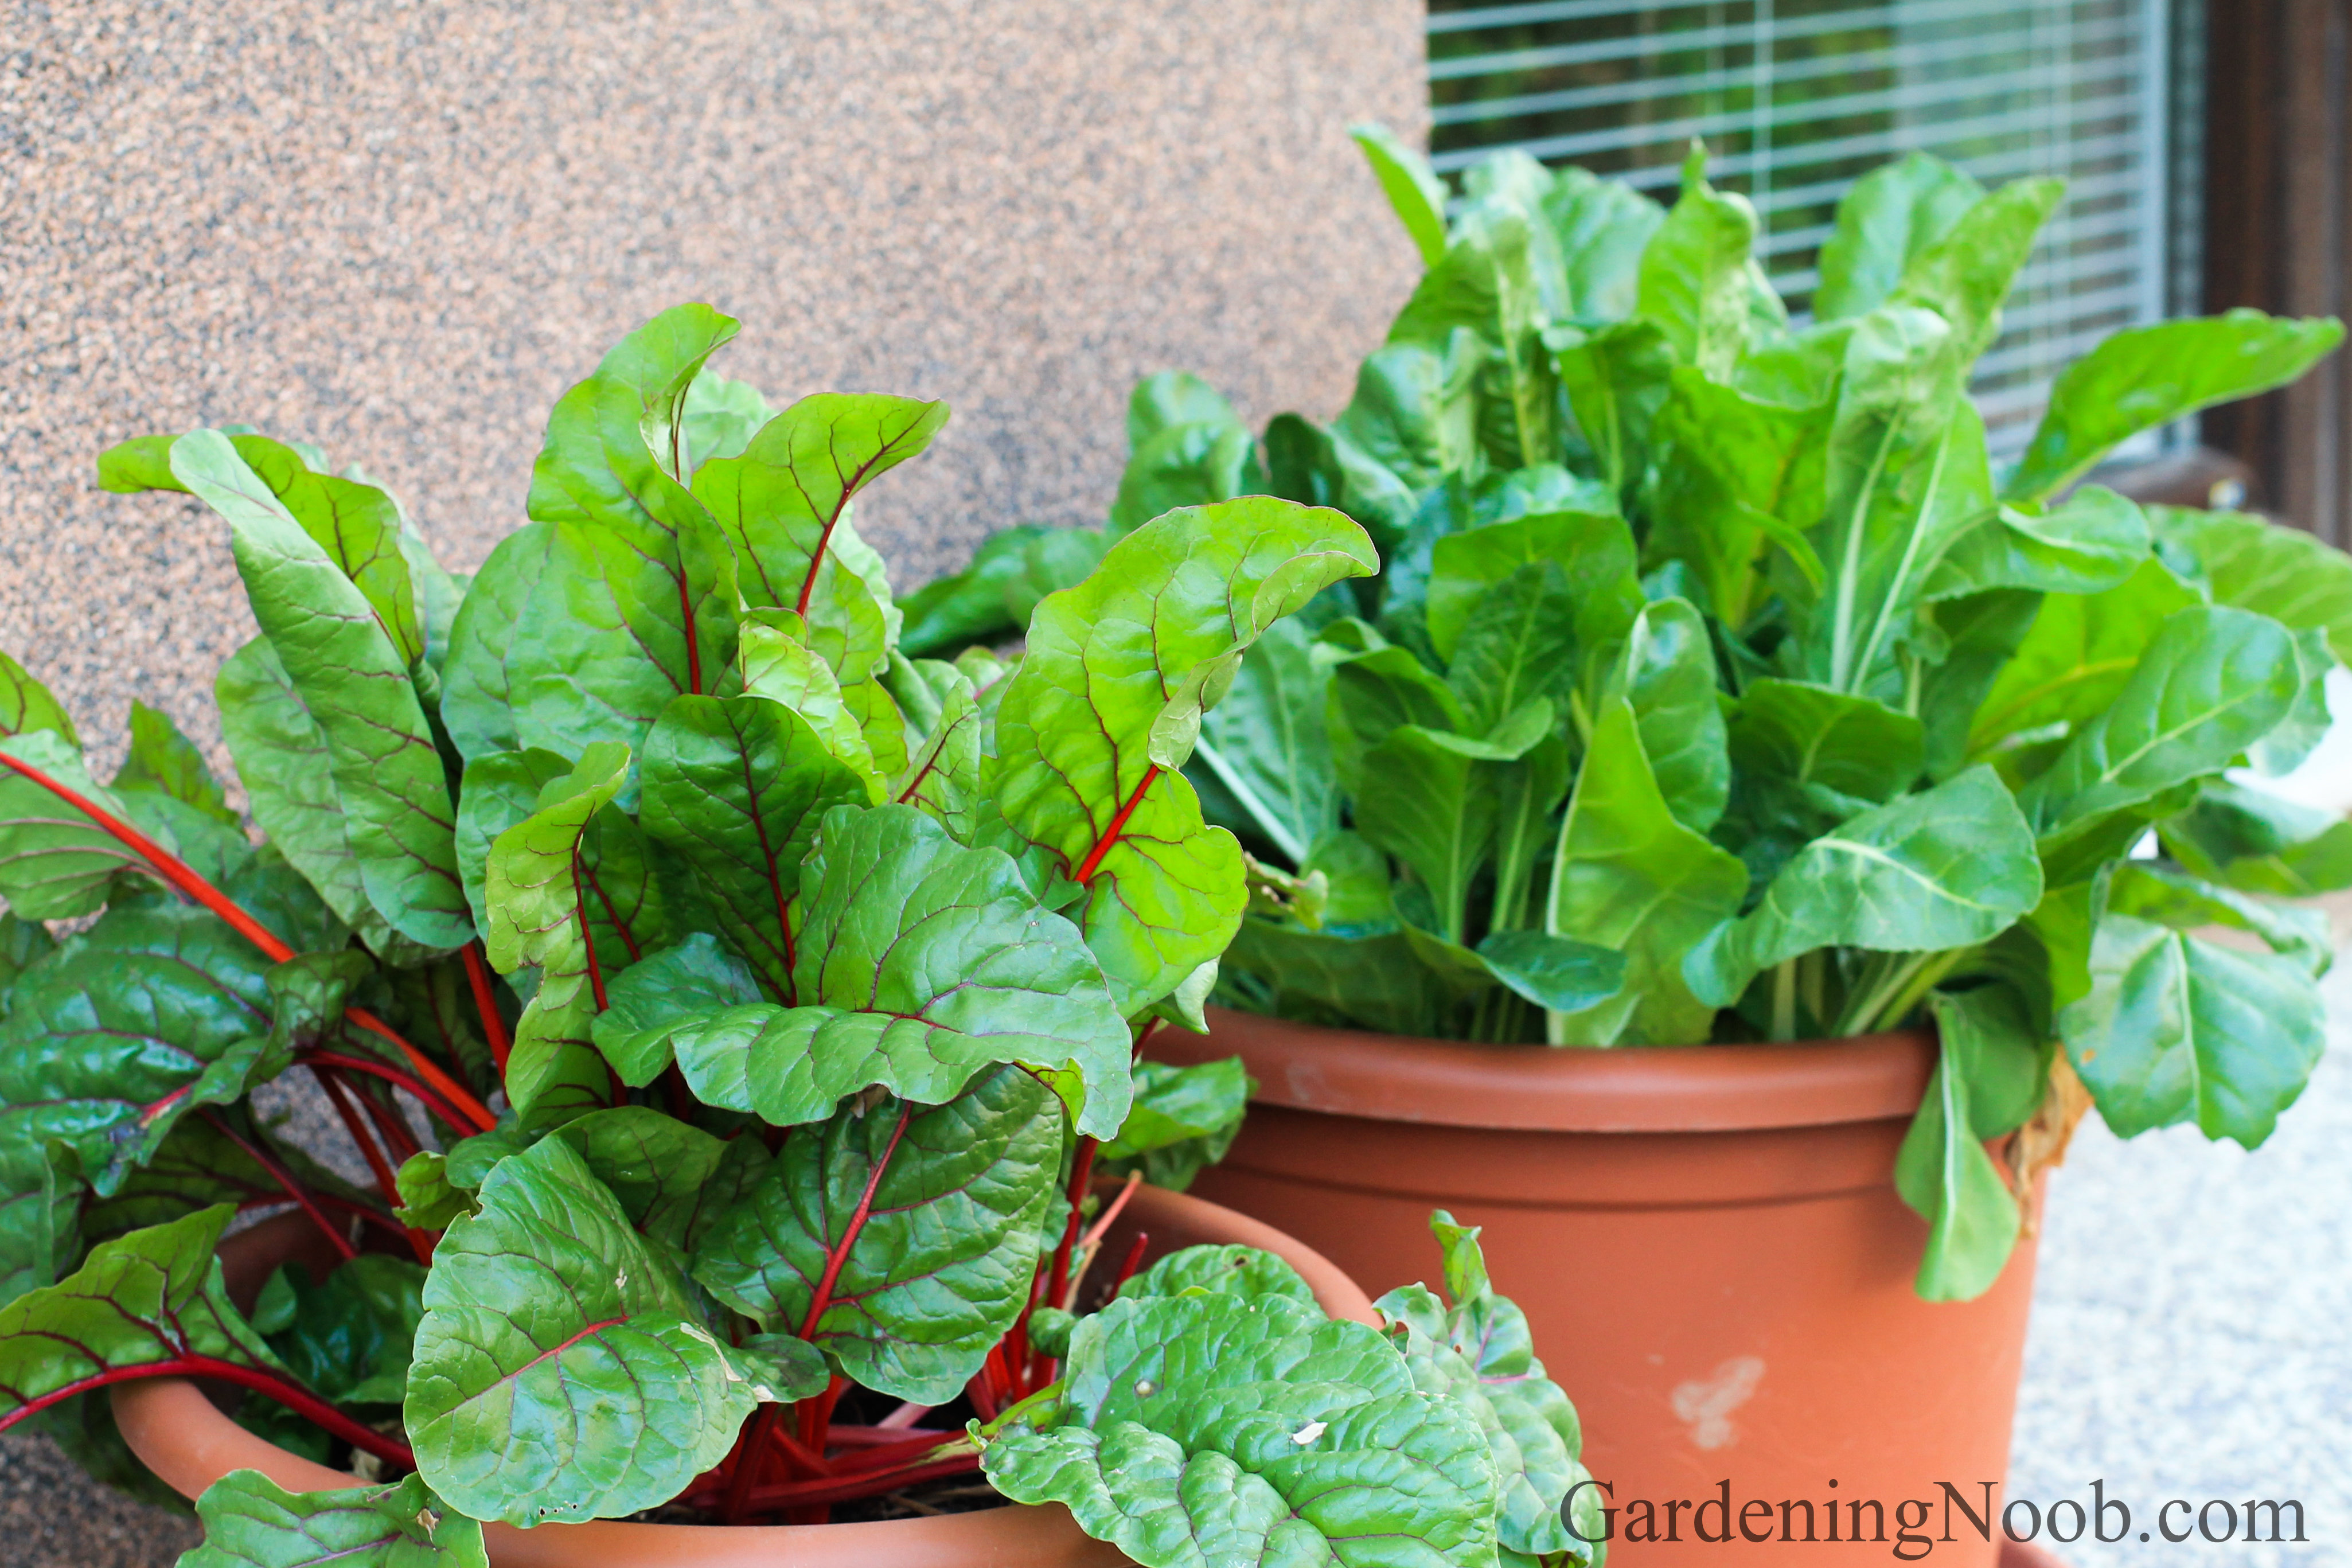
The great thing about chard is that it’s not only edible, but ornamental as well. Perhaps it’s beauty is even more noticeable when you’re growing it in a pot or container. Yes, it takes a bit more effort, but at the end of the day it’s worth the extra effort. It looks great on a porch, terrace, balcony or even windowsill!
